A dune can look perfectly still from a distance, then reveal its movement the moment the wind lifts a veil of sand along its crest. That contrast is the heart of how to photograph moving dunes: you are not just capturing a giant landscape. You are capturing wind, texture, scale, and a place that changes by the minute.
Namibia gives photographers some of the most dramatic conditions on Earth. From the giant red dunes near Sossusvlei to the wild meeting of ocean and sand at Sandwich Harbour, the terrain is epic, but it does not make the shot for you. Strong light, shifting sand, harsh heat, and a wide-open frame demand a clear plan.
How to Photograph Moving Dunes: Start With Light
The best dune photographs are usually made early or late in the day. Low sun throws long shadows across the leeward side of a dune, carving every ripple into the frame and giving the sand its rich orange, red, gold, or pale coastal tones. Midday light can be brutally bright, flattening texture and washing out highlights. It is useful for graphic, minimalist images, but it is less forgiving.
Arrive before sunrise if you can. The first light often creates a gentle transition from cool blue shadows to warm sunlit ridges. At sunset, work quickly. A dune face can go from glowing to flat in a matter of minutes as the sun drops behind the horizon.
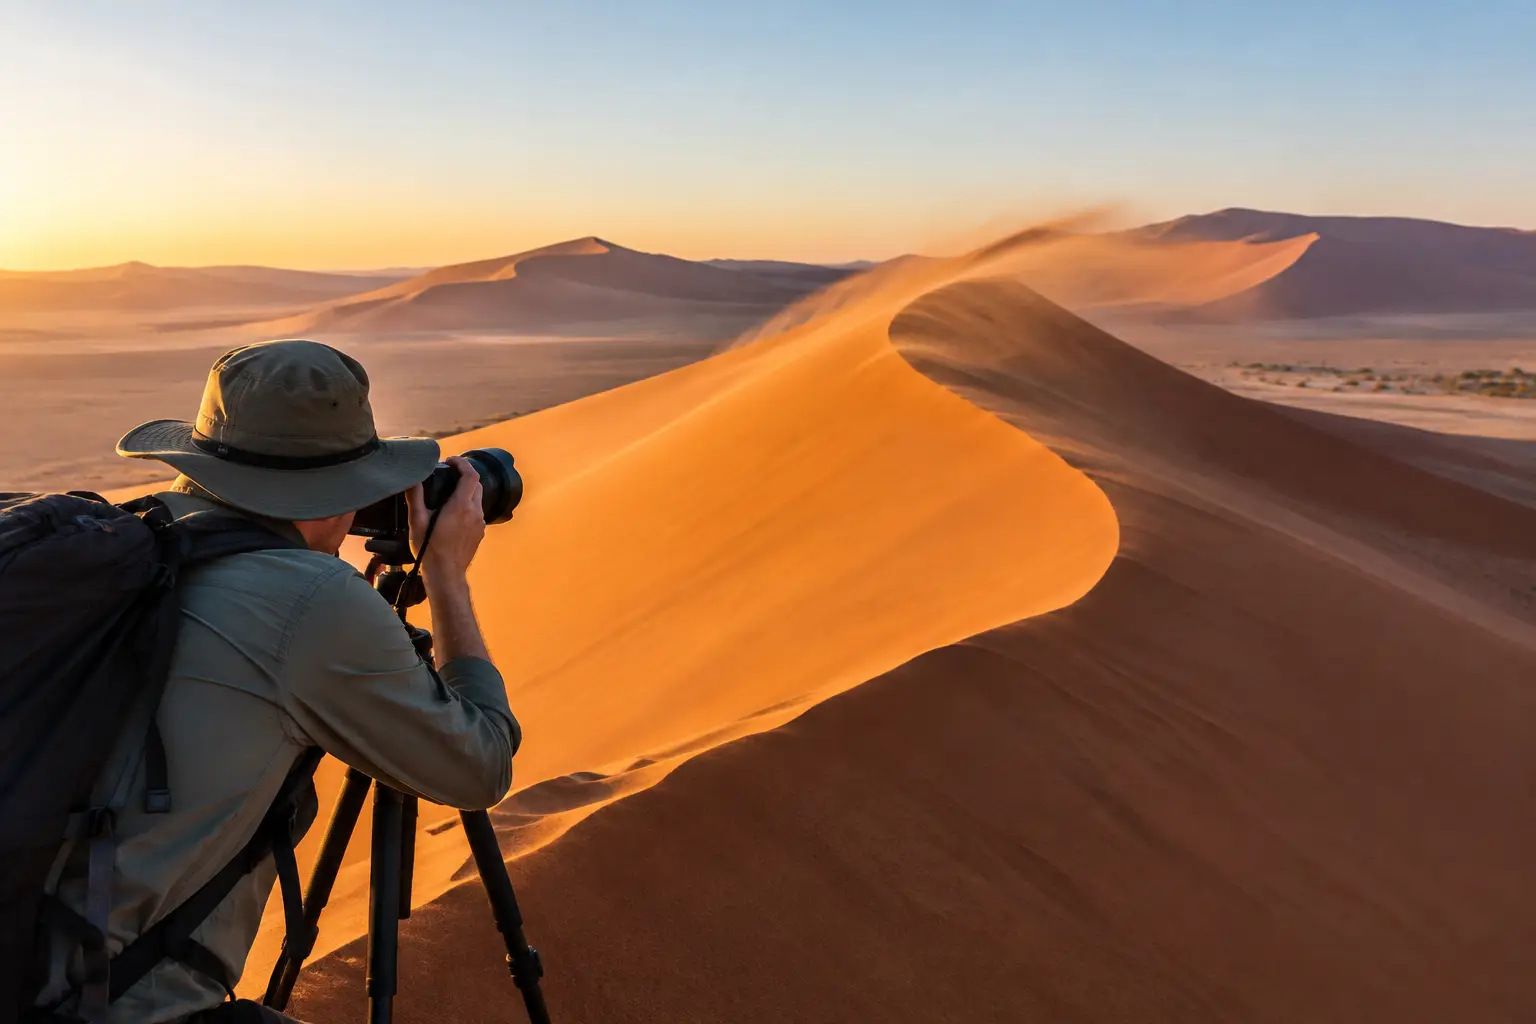
Wind changes the game. When sand is blowing across a ridge, shoot toward the side of the dune rather than directly into the wind whenever possible. Side light makes airborne grains visible against darker shadow areas. Backlight can be spectacular too, turning the blowing sand into a bright, glowing edge, but it can also cause flare and lower contrast. Shield your lens with your hand or lens hood, without letting it enter the frame.
Show the Motion, Not Just the Sand
Dunes move slowly over months and years, but their surface moves instantly under wind. Your camera settings decide whether that movement looks frozen, soft, or completely invisible.
For crisp individual grains of sand lifting from a dune crest, use a fast shutter speed. Start around 1/1000 second and go faster if the wind is strong and the sun gives you enough light. This works well when you want the crest to look sharp and powerful, with every grain suspended in the air.
For a more atmospheric image, slow the shutter to around 1/15 to 1/60 second. Blowing sand becomes a soft streak or mist flowing off the ridge. Use a smaller aperture and lower ISO to control exposure, and keep the camera stable. A tripod helps, but it is not always practical in deep sand or high wind. A firm shooting stance, image stabilization, and a burst of several frames can still produce a strong result.
There is no single correct setting. A fast shutter tells a story of force and detail. A slower shutter tells a story of wind and movement. Shoot both while the conditions are right.
Build the Frame Around Shape and Scale
Desert landscapes reward simple compositions. A strong dune ridge, a clean curve, and a deep shadow can be more striking than a busy frame packed with details. Before raising the camera, look for the line that pulls the eye through the image. It may be the sharp crest of a dune, a tire track leading toward a distant slope, or wind patterns flowing diagonally across the sand.
The highest dune is not always the best viewpoint. Walking a short distance to change your angle can separate ridges that overlap from where you first stood. Look for the contrast between a sunlit face and a shadowed face. That clean division is one of the classic visual signatures of Namibia's dunes.
Scale is equally important. Without a reference point, a dune can look like a small mound of sand. Add one person walking a ridge, a 4x4 on a safe established route, or a distant tree in a valley to show its true size. Keep people small in the frame. They should add a sense of adventure, not distract from the landscape.
If you photograph a person, place them slightly below the crest rather than directly on it. This preserves the dune's elegant line and gives the figure a clear shape against the sky or bright sand. Ask them to pause, walk slowly, or look into the distance. Natural movement feels more believable than a stiff pose.
Choose Gear That Works in Sand and Wind
You do not need a massive camera bag to make unforgettable desert images. A wide-angle lens is ideal for showing the sweep of a dune field, while a short telephoto lens helps isolate layers of ridges and compress distant patterns. A versatile zoom lets you switch quickly as the light changes.
Keep your camera protected, but do not spend the entire experience fighting your gear. A lens hood helps with flare and gives some protection from blowing sand. Carry a microfiber cloth and a soft brush, and change lenses only when the wind is calm or when you can shelter inside a vehicle. Fine sand gets everywhere.
Use a moderate aperture such as f/8 to f/11 when you want detail from foreground ripples to distant dunes. For a single person, animal track, or abstract section of a dune, open wider and let the background soften. Keep ISO low when light allows, especially during bright desert mornings, to preserve clean color and fine texture.
Polarizing filters can help reduce glare and deepen a blue sky, but use them carefully with wide-angle lenses. They can create uneven patches of dark blue across a big sky. Often, the strongest desert frames need no filter at all.
Expose for Highlights and Protect the Color
Bright sunlit sand can fool your camera into underexposing or blowing out detail. Check your histogram rather than relying only on the image preview, which can look brighter or darker than reality in desert sunlight. Protect the highlights on the brightest dune face, then lift shadows gently later if needed.
Shooting in RAW gives you more room to recover detail and fine-tune white balance. Desert sand does not have one fixed color. It can be deep red at sunrise, pale beige under cloud, and nearly silver along the coast. Let the conditions guide the final edit instead of pushing saturation until the image no longer feels real.
A small amount of contrast and texture can bring out ripples and ridgelines. Too much clarity, however, can make the sand look crunchy and unnatural. The goal is to preserve the feeling of being there: wind against your face, vast silence between gusts, and ridges that seem to run forever.
Photograph Coastal Dunes Differently
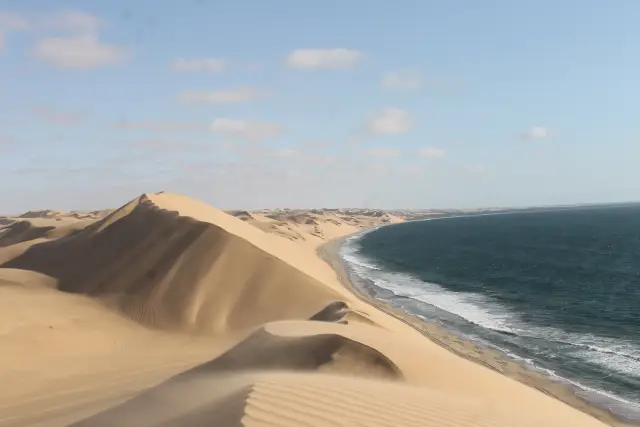
At places like Sandwich Harbour, the drama comes from collision. Massive dunes descend toward the Atlantic, fog can roll in from the ocean, and the sky changes faster than it does inland. This is where wide compositions work especially well, showing water, sand, vehicle tracks, and dune walls in the same frame.
Watch the weather. A gray coastal sky can actually help by reducing harsh contrast and making the shapes of the dunes stand out. If the sun breaks through, be ready for sudden shafts of light and bold shadow patterns. A long lens can isolate the curves where dune meets sea, while a wide lens makes the landscape feel immense.
This terrain is spectacular but demanding. Stay on safe routes, respect restricted areas, and never take a vehicle into soft sand simply to create a photo. A guided trip with a team that knows the tides, dune conditions, and access routes can put you in the right place without turning a photography stop into a recovery operation. Dominus Dune Tours can be a smart choice when you want the thrill of the terrain with experienced local guidance.
Work With the Wind and Stay Safe
Wind is your creative partner, but it deserves respect. Keep spare batteries and electronics in sealed bags, secure loose straps, and avoid pointing your face directly into blowing sand. Sunglasses or clear eye protection make it easier to keep shooting when conditions become lively.
In the heat, carry more water than you think you need and avoid wandering far from your group or vehicle. Dune landscapes can be disorienting because every ridge looks different once you turn around. Tell someone where you are going, and never climb unstable slopes or drive unfamiliar dune lines for a photograph.
The best desert images come from patience, not rushing. Stand still for a few minutes and watch what the wind does to the ridge. Wait for a person to reach the right point in the frame. Let the light move across the sand. When the dune finally seems to breathe, be ready to press the shutter.